OneTouch® UltraMini® - Coding Your Meter
Products
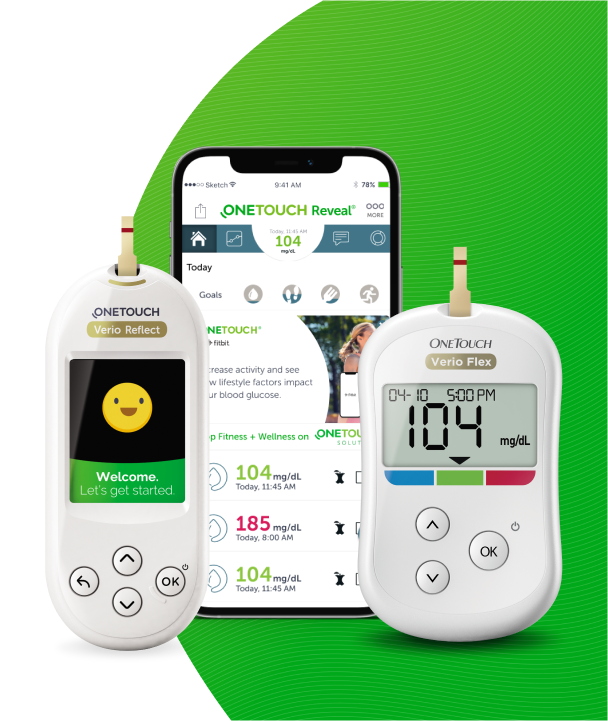
OT Ultra Mini Meter
Coding Your Meter:
- Have these things ready when you test your blood glucose level:
- OneTouch® UltraMini® Meter
- OneTouch® Ultra® Test Strips
- Lancing device
- Sterile lancets with protective disks
- OneTouch® Ultra® Control Solution
- NOTE:
- Use only OneTouch® Ultra® Test Strips with your OneTouch® UltraMini® Meter.
- Make sure your meter and test strips are about the same temperature before you test.
- Testing must be done within the operating temperature range (43–111°F). For the most accurate results, try to test as close to room temperature (68–77°F) as you can.
- CAUTION:
- If you cannot test due to a problem with your testing supplies, contact your healthcare professional or OneTouch® Customer Care. Failure to test could delay treatment decisions and lead to a serious medical condition.
1. Check the code on the test strip vial before inserting the test strip.
-
- Code numbers are used to calibrate your meter with the test strips you are using to obtain accurate test results. You must code the meter before using it for the first time and then every time you change to another vial of test strips.
-
- CAUTION:
-
- The test strip vial contains drying agents that are harmful if inhaled or swallowed and may cause skin or eye irritation.
-
- CAUTION:
2. Insert a test strip to turn on the meter.
-
- Start with the meter off. If you have turned the meter on to change settings or review past results, turn it off. Remove a test strip from its vial. With clean, dry hands, you may touch the test strip anywhere on its surface. Do Not bend, cut or modify the test strips in any way. Use each test strip immediately after removing it from the vial.
- Hold the meter as shown and insert the test strip into the test port. Make sure the three contact bars are facing you. Push the test strip in as far as it will go. Do Not bend the test strip.
-
- CAUTION: OneTouch® Ultra® Test Strips are for single use only. Never re-use a test strip that had either blood or control solution applied to it.
- After the start-up test screen appears, the meter will display the code from your last test. If a constant C and a flashing “- -” appear instead of a code number, such as when you are first using the meter, follow the instructions in step 3 to change to a numerical code.
3. Match the code on the meter with the code on the test strip vial.
-
- If the code on the meter does not match the code on the test strip vial, press ↑ or ↓ to match the code number on the test strip vial. The new code number will flash on the display for three seconds, and then stay constant for three seconds. The display will advance to the screen with the flashing blood drop icon.
-
- If the codes already match, wait three seconds. The display will advance to the screen with the flashing blood drop icon. The meter is now ready to perform a blood glucose test.
-
- NOTE:
-
- If the screen with the flashing blood drop icon appears before you are sure the codes match, remove the test strip, wait until the meter turns off, then re-start from step 1.
- If you press ↑ by mistake so that the control solution test symbol CtL appears on the display, press ↑ again to change it back to the screen with the flashing blood drop icon.
-
- NOTE:
-
- CAUTION: Matching the code on the meter and the code on the test strip vial is essential to obtain accurate results. Each time you test, check to make sure the code numbers match.
AW 06629005A