OneTouch VerioIQ® – Tool Settings And Setting High Low Patterns
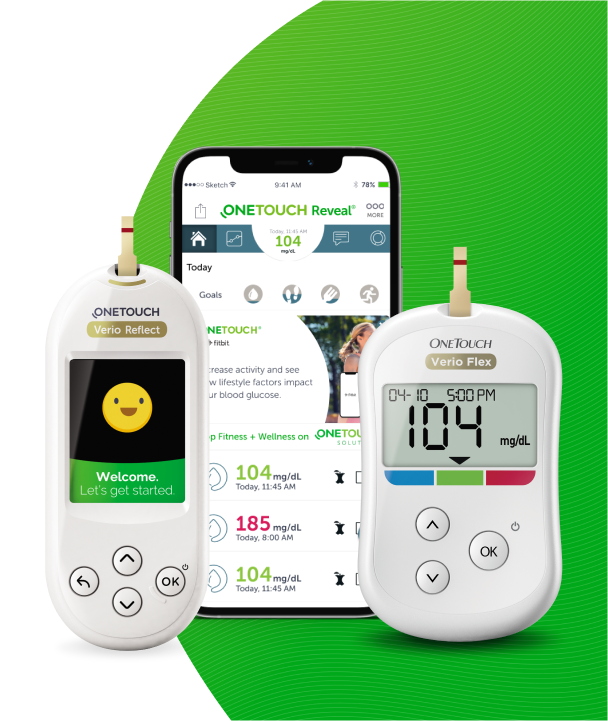
Products
OT Verio IQ Meter
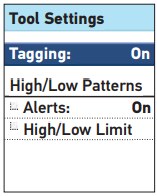
Tool Settings: 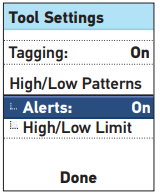
Set the High/Low Patterns:
Instructions: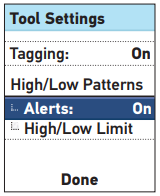
- The meter has several features that provide information that can help you manage your diabetes.
- High/Low Patterns: Lets you know if your blood glucose levels are developing a high or low pattern.
- Tagging: Blood glucose results can be tagged to indicate tests taken around mealtimes.
Set the High/Low Patterns:
- The meter can let you know whenever your blood glucose results develop a pattern below the Low limit or above the Before Meal High limit you set in your meter.
- Note:
- Before Meal tags are used to determine if a blood glucose result should trigger a high pattern message. Be sure to tag your results carefully.
- Use care when adding tags to your blood glucose results. Incorrect tagging can cause the information displayed in high pattern messages to be inaccurate and/or misinterpreted.
- The High/Low Patterns feature uses your meter’s time and date settings to identify patterns. Be sure the time and date are set correctly when using this feature.
- CAUTION: Be sure to talk to your health care professional about the High and Low pattern limits that are right for you. When selecting or changing your pattern limits, you should consider factors such as your lifestyle and diabetes therapy. Never make significant changes to your diabetes care plan without consulting your health care professional.
Instructions:
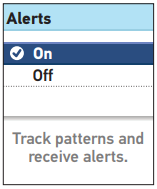
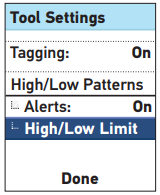
1. Highlight Alerts on the Tool Settings screen and press OK.
2. To turn this feature on or off, press ↑ or ↓ to highlight your selection and press OK.
3. If the feature is turned on, highlight High/Low Limit on the Tool Settings screen and press OK.
- Note:
- To set high and low limits, Alerts must be turned on.
- Low and Before Meal High limits apply to every hour of the day.
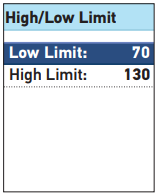
4. On the High/Low Limit screen, highlight Low Limit and press OK.
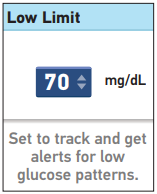
5. The Low Limit is highlighted. Press ↑ or ↓ to select a value for your low limit and press OK.
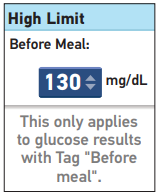
6. Next, on the High/Low Limit screen, highlight High Limit and press OK. The High Limit is highlighted. Press ↑ or ↓ to select a value for your high limit and press OK.
- Note:
- Tagging must be turned on to set a Before Meal High limit.
- The meter is set at the factory with the tagging feature turned on.
- If you try to set the High Limit with the tagging feature turned off, you will be prompted to turn it on, before setting your high limit.
7. You will return to the Tool Settings screen.
AW 06703306A